
This was a month in the making, so you may want to just hold onto this craft until next year. First I sent the teacher a questionaire to find out her likes (favorite stores, restaurants, sports, etc.). I then sent a letter to the parents to tell them what I was wanting to do. I asked for $6 from each parent to pay for the pot, rosemary tree, paints, paper, and of course the gift cards.
(If anyone knows how to make a pdf into a URL link and would like to enlighten me, I can post my teacher and parent docs for you)
Here is how I did everything:

I used my circle cutter to cut out 2 circles per ornament. I also cut out rectangular papers because my sons class has 15 kids and I thought that little "gifts" at the base of the tree would look cute too.


I used yellow paper for the ornament topper. You will need two of these, one for the front and one for the back. It makes the ornament more stable when hanging, since there is a gift card inside.

Glue the two circles together leaving a space at the top to insert the gift card.

You can either glue the yellow piece on now, and have the kids decorate it any way you'd like. Or if you do the marble painting below, I would recommend waiting until after the paint is dry.

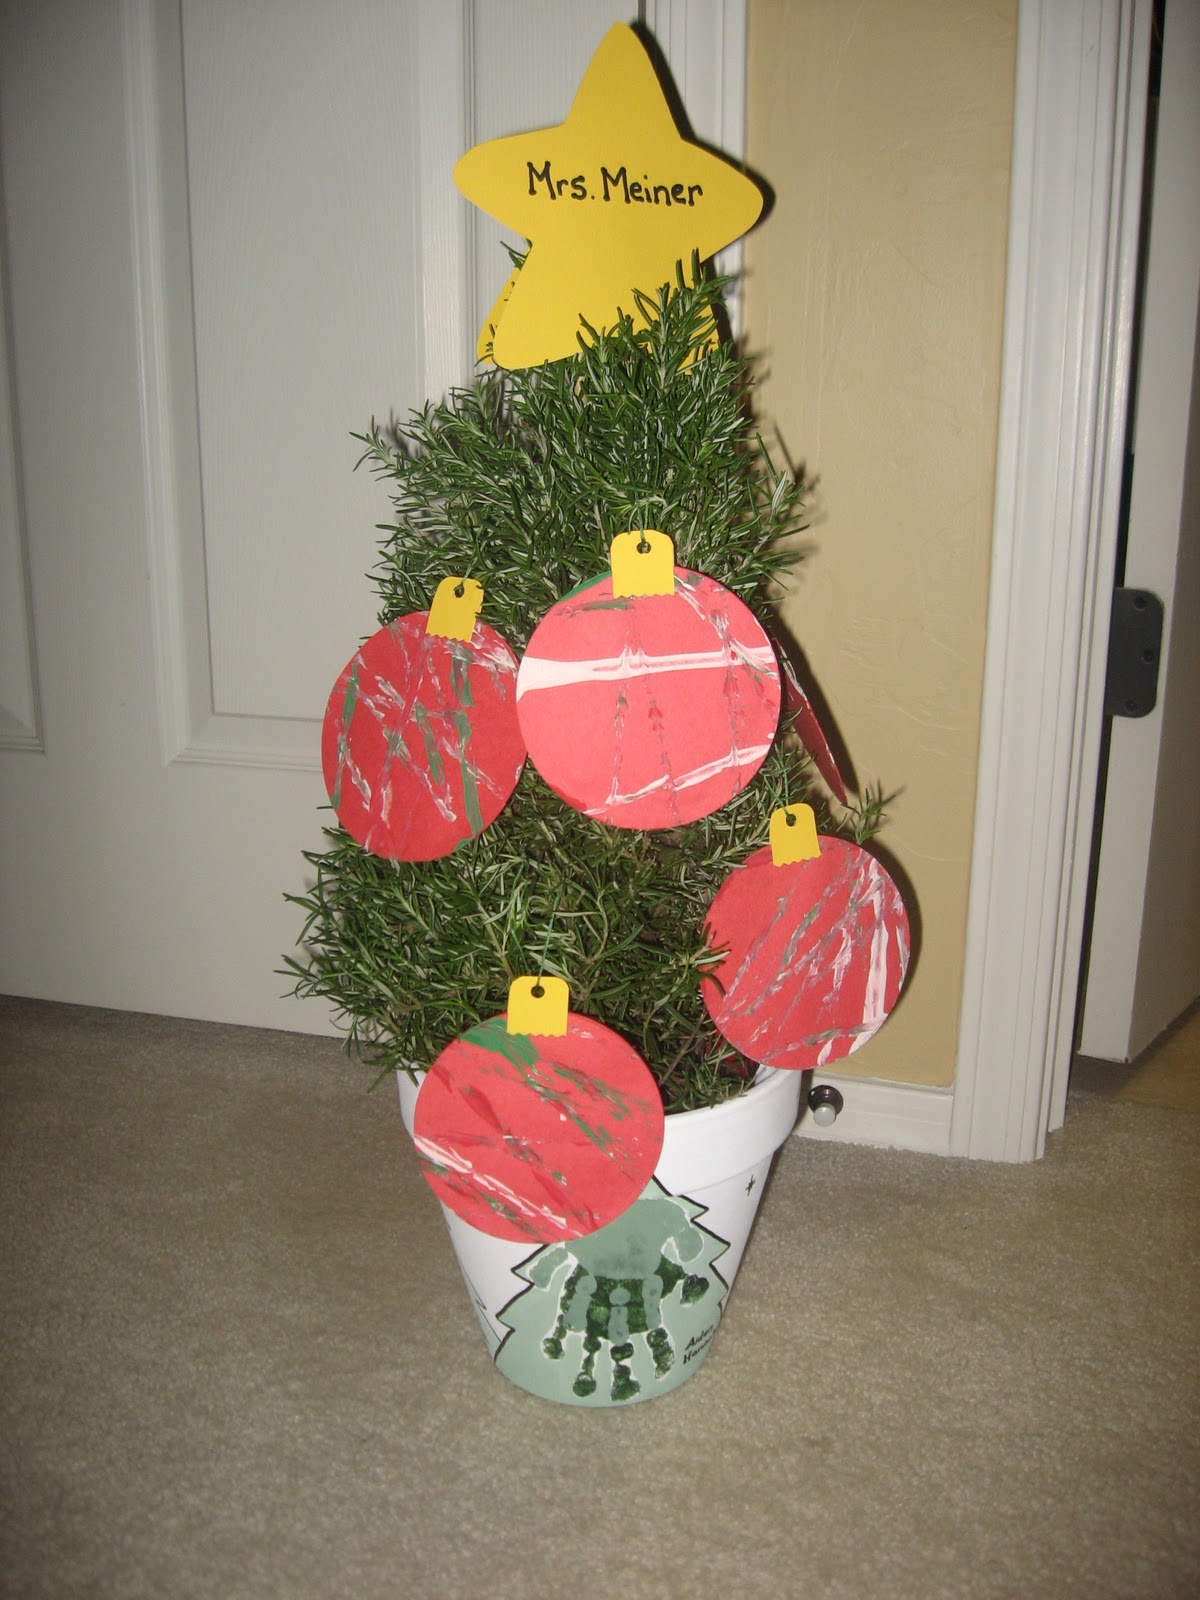
Don't forget about the star topper. You will cut out 2 stars and glue them so that there is an opening at the bottom, so that it can be put at the top of the tree.

I glued it just like this one above and it worked perfectly. (If you are using thin construction paper, use a glue stick vs. the liquid school glue to prevent bumps)
Now onto the marble painting:

You'll need a box lid, marbles, spoons, paint and a tray (egg carton works great)
Put paint in the tray (red, green, white) and drop the marbles into each color.
Tape the ornament to the bottom of the box.
Spoon the marbles into the box.
Have the kids roll the marbles over the ornament until they are happy with it.
After the paint is dry, glue the yellow toppers on, one on the front and one on the back
and it will look like this:


As for the pot, I found a large teracotta pot at the 99cent store, painted it white and put the kids handprints on it to resemble a tree. I first traced the tree with a pencil and then painted in around the handprints with light green. Then I used a sharpie paint pen and traced over the pencil marks. I wrote the kids names and make stars.

I lucked out at Lowe's and got the rosemary trees on sale for $7.98. They were originally $9.99, so I saved some money there!
We will be presenting these to the teacher during their winter festival. The kids will each go up and put their ornament on. If you have two teachers (preschool with an assistant) you can do two of these and put different color string on the ornament for each teacher, that way the preschoolers know which teacher's tree their ornament goes on.
What teacher wouldn't love to get $5 gift cards from each of their students? When you add it up, if there are 15 kids in the class and all the parents participate, the teacher would receive $75 in gift cards.
What a great way to say Merry Christmas!


No comments:
Post a Comment